Instant Pot Matcha Cheesecake Recipe

November 22, 2018Van
Blog post

Prep time: 3 hours

Cook time: 52 minutes

Serves: 6

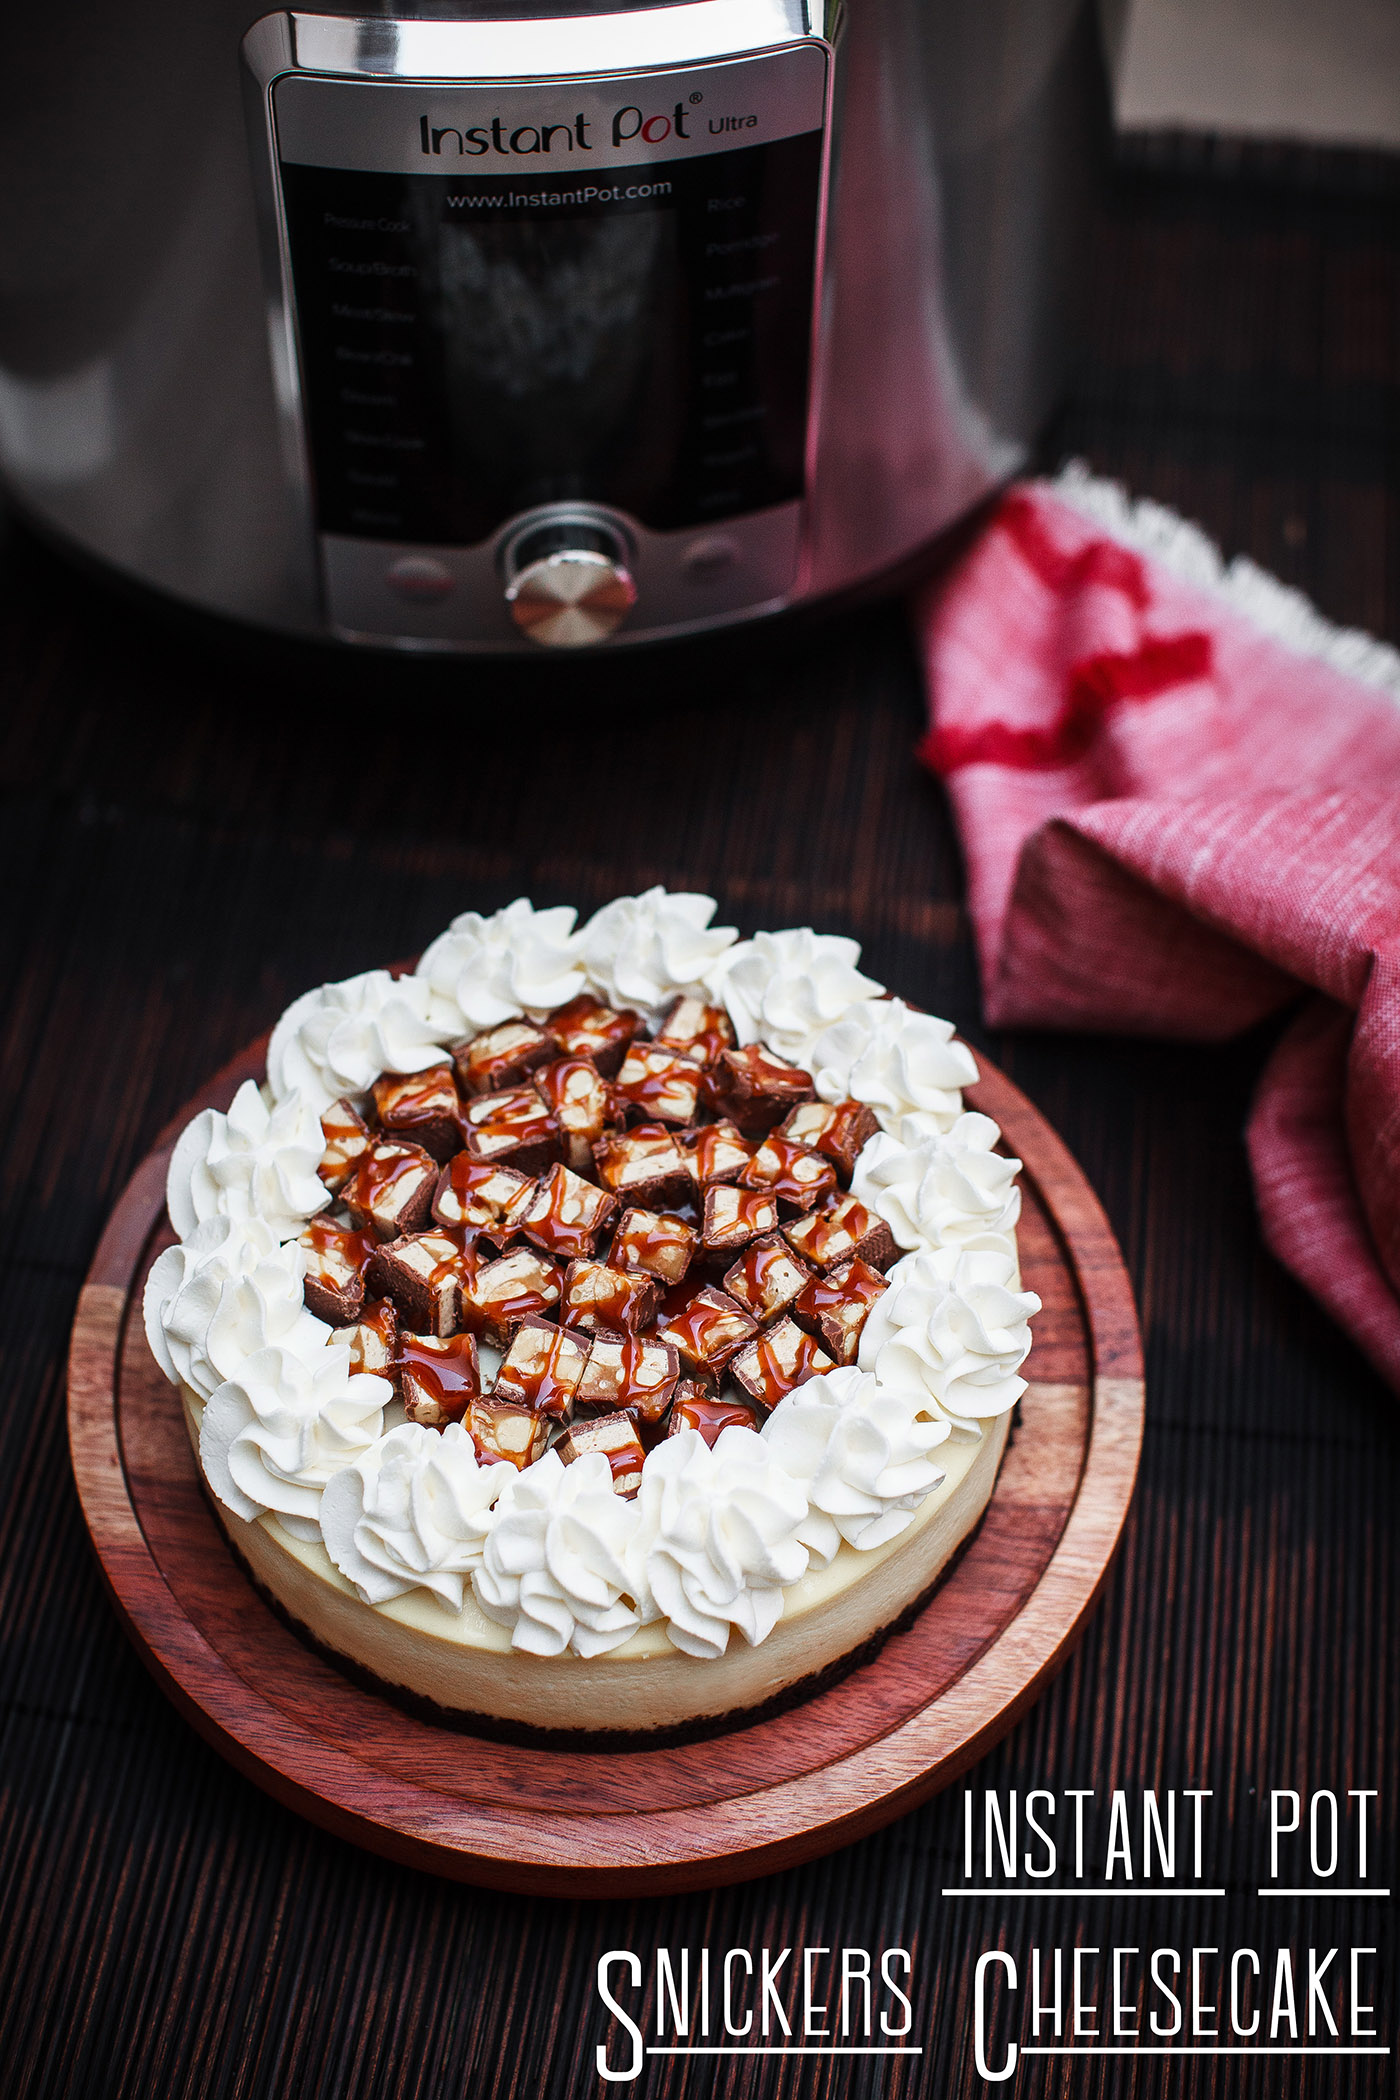
Regular readers of my blog already know my love affair with cheesecake. The flavor options are absolutely unlimited. Depending on the season— and my mood—its exhilarating to discover new flavors that play on the sweet and savory motif inherent in this creamy delicacy.

Matcha has a strong hold on me. Years ago I came upon gelato made by Talenti that was “matcha and white chocolate” flavored. It sounded very strange but it turned out to be the most amazing treat! Much to my dismay they discontinued it and with that a huge void was left in my foodie life. With that said, it DID give me the inspiration for this unbelievable cheesecake recipe.

Using a silicone sling makes it easier to load and lift the cheesecake out of the Instant Pot (purchase one here). Be sure to wrap the top & bottom of the pan with foil. This helps keep the top of the cheesecake flat and the crust crisp
Instant Pot Peanut Butter Cheesecake Recipe with Nutter Butter Crust

Instant Pot Matcha Cheesecake Recipe

Instant Pot Matcha Cheesecake Recipe

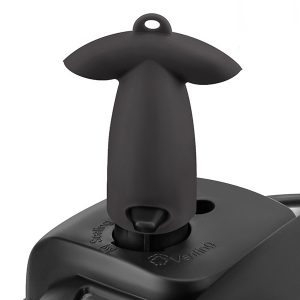
If you use your Instant Pot on the counter under your cabinets, this is an awesome accessory that diverts the steam downward and away from your cabinets (purchase here)

Be sure to click on the accessories list below to get the most out of your Instant Pot.
Best Instant Pot Accessories List

Print Recipe

Instant Pot Matcha Cheesecake Recipe

  • Prep time: 3 hours
  • Cook time: 52 minutes
  • Serves: 6

www.foodisafourletterword.com

Ingredients

*CHEESECAKE

  • 16 Oz Cream Cheese, room temperature
  • 2 Tablespoons Matcha Powder, sifted
  • ¾ Cup Granulated Sugar
  • 2 Large Eggs, room temperature
  • 2 Tablespoons Heavy Cream
  • 1 Teaspoon Vanilla Extract
  • 1 Tablespoon Cornstarch
  • 7 inch non-stick Springform Pan

*CRUST

  • 1 Cup Fine Cookie Crumbs, Vanilla Wafers or Shortbread cookies work well
  • 2 Tablespoons Granulated Sugar
  • 2 Tablespoons Unsalted Butter

*WHITE CHOCOLATE GANACHE FROSTING

  • 1 Cup White Chocolate Chips
  • ⅓ Cup Heavy Cream

Method

  • 1)

    Get the Cream Cheese & Eggs to Room Temp:

    Fill a large bowl with hot tap water from your sink, place the 2 Large Eggs into the bowl and set aside to get them to room temp. Cut the cream cheese into small blocks, place it into a microwave safe bowl. Heat the cream cheese for 15 seconds, take it out, give it a stir than microwave for another 10 seconds then stir and check again – continue with 10 second increments until it’s very soft (about 80°F-85°F).

  • 2)

    Prepare the Cheesecake Pan:

    Trace the bottom of your 7 inch pan on parchment paper and cut out the circle to line the bottom of the pan.  Using a stick of butter, lightly coat the bottom so the parchment has something to stick to.  Then use the stick of butter to grease the the interior side of the pan.  This makes it easier to release the cheesecake from the pan.

  • 3)

    Prepare the crust: 

    My special method will produce a delicious and crispy crust without having to blind bake it first – the crust will also stay crispy for several days.

    In a large non stick pan, pour in 2 Tablespoons Granulated Sugar and heat on medium. It will take a few minutes for the sugar to liquify, keep and eye on it and stir with a silicone spatula.

    As soon as all the sugar liquifies, add the 2 Tablespoons of unsalted butter and stir well so the butter and the liquid sugar are combined.

    Once all the butter has melted, add 1 Cup of Cookie Crumbs and mix well, coating all the crumbs with the butter-sugar mixture. Keep on medium heat for 1 minute while you’re mixing the cookie crumbs and break up any large pieces.

    Turn off the heat and let the crumbs cool for 3 minutes. Pour the crumbs into your springform pan and press onto the bottom, you can use a spoon or something with a flat bottom like a small ramekin to help you even out the crust. The mixture may still be hot, so be careful when working with it.

    ***If you don’t like your crust crispy, simply melt the butter and mix it well with the cookie crumbs and sugar.

  • 4)

    Make the Cheesecake batter:

    I use a KitchenAid stand mixer with a paddle attachment to mix the batter since it incorporates the least amount of air into the batter – you really have to avoid overmixing the cheesecake batter, especially when the eggs are added.  Place 2 Tablespoons of sifted Matcha Powder, ¾ Cup of Granulated Sugar and 1 Tablespoon of Cornstarch into your mixer – whisk until it’s mixed well. Add 16 oz of room temperature cream cheese & mix on low speed until  it looks smooth and combined. Scrape your bowl half way through with a spatula to ensure an even mixture.  (With my KitchenAid, this took about 2 minutes using #3 speed)

  • 5)

    Add the 2 Large room temperature Eggs, 1 Teaspoon of Vanilla Extract, and 2 Tablespoons of Heavy Cream, mix using the lowest setting until everything is incorporated and looks smooth. While mixing, scrape your bowl 2-3 times with a spatula to ensure an even mixture. (With my KitchenAid, this took about 2 minutes using the “Stir” speed)

  • 6)

    Pour the batter into your cheesecake pan. Pick up the pan and tap it a few times on the counter to even out the batter and this also helps pop air bubbles in your batter. Place a paper towel on top of the pan, it should not touch the cheesecake. Place one piece of foil on top and seal tightly,  then another piece of foil the bottom that wraps up towards the top ~ the entire pan should be covered ~ this helps prevent steam getting on your cheesecake. The cooking time for this recipe is also designed for this wrapping technique (your cheesecake could turn out overcooked if you’re not wrapping the top and bottom)

  • 7)

    “Bake” the Cheesecake:

    Place 1½ Cups of water into the Instant Pot and place the trivet into it. Carefully place the the cheesecake pan on top of the trivet or use a Silicone Sling for easy lifting (purchase here). If you have a separate sealing ring you use for desserts, place that one on the lid.  Seal the lid and switch the knob to “Sealing”.   Set the Instant Pot for High Pressure / Manual for 52 minutes. Once the timer is up and you hear the beep, wait an additional 20 minutes while the pot releases the pressure naturally.  If the pin hasn’t dropped on it’s own after 20 minutes, switch the knob to “Venting” and when the pin drops open your lid. Carefully remove the cheesecake from the Instant Pot. Unwrap the foil, the pan will still be hot so use mitts or kitchen tongs.  Leave it on the counter to cool for about 1.5 hours. Cover the pan and place it into the refrigerator for at least 12 hours.

    ***Different Instant Pot models, living in higher elevation or even different springform pans may change the cook time. If there is no jiggle in the very center, the cheesecake is most likely overcooked (overcooked cheesecakes are eggy and grainy instead of creamy), use 5-10 minutes less cooking time next time. If your cheesecake looks like liquid in the middle, it’s under cooked. Make sure there’s still 1½ Cups of water in the pot, recover the pan and cook for another 5 mins on High Pressure and 5 minute natural pressure release (repeat if necessary).

  • 8)

    Carefully remove the cheesecake from the Instant Pot. Unwrap the foil, the pan will still be hot so use mitts or kitchen tongs.   Leave it on the counter to cool for about 1.5 hours. Cover the pan well and place it into the refrigerator for at least 12 hours before serving.  Keep the cheesecake in the baking pan, you don’t want to remove the cheesecake until it’s been cooled for at least 12 hours.

  • 9)

    Make the White Chocolate Ganache Frosting:

    Heat ⅓ Cup of Heavy Cream in a sauce pan on low heat. As soon as it starts to simmer, pour it over 1 Cup of White Chocolate Chips. Let it sit for 5 minutes, then stir well with a spoon. Once the mixture is completely smooth, cover and let it cool to room temperature (about 70°F). Place the cooled ganache into your mixing bowl and using the whisk attachment, whisk on high until stiff peaks form. Pipe onto the cheesecake and serve more ganache frosting with the cheesecake slices. Dust the cheesecake with matcha powder before serving & garnish with berries and matcha Pocky. Enjoy!

↓ Supplies to make this recipe ↓


5 Comments

  • Angel

    January 25, 2021 at 8:04 pm

    This was so easy and worked great in my instant pot! I was skeptical about the 52 min since most other instant pot recipes only seem to go for half an hour, but it really was the right way to go, and the actual cake was a beautiful green color. Sadly, I won’t be making it again though since the matcha flavor I was looking for really wasn’t there. Perhaps I should put way more next time to really taste it (its’ quite expensive though eek)

    Flavor was, it was a DELICIOUS cheesecake. Just not matcha-tasting enough.

    1. Van

      January 26, 2021 at 9:47 am

      Hi Angel, glad it worked out well for you. What matcha powder did you use? Was it a good high quality one that you usually drink? Just curious because when I make it, it has a very strong matcha flavor.

      1. Angel

        February 1, 2021 at 1:31 pm

        I use the Jade Leaf brand that I got off of Amazon! If you could recommend another brand, I’d def appreciate it. Thank you for replying C:

        1. Van

          February 1, 2021 at 1:43 pm

          Is it a good drinking matcha? I only ask because one time I ordered a matcha brand I never tried before from Amazon and it tasted floral and it wasn’t even real matcha. If the one you have is okay to drink, then you probably just need to add more matcha so the flavor is to your liking. Lately I’ve been using Sen Cha Organic Matcha, Costco sells a big bag of it for a good price and it’s great for drinking and baking.

          1. Angel

            February 3, 2021 at 11:45 am

            Thank you for the recommendation, I’ll be sure to look into it next I go to Costco! I do drink the Jade brand which is about the same price point. Maybe one day I’ll splurge and see if the ceremonial varieties would be worth it to use in baking.

Comment ReplyCancel Reply

Your email address will not be published. Required fields are marked *

Previous Recipe Next Recipe